
Remodeling Contractor Website Gallery: What Homeowners Need Before They Request an Estimate
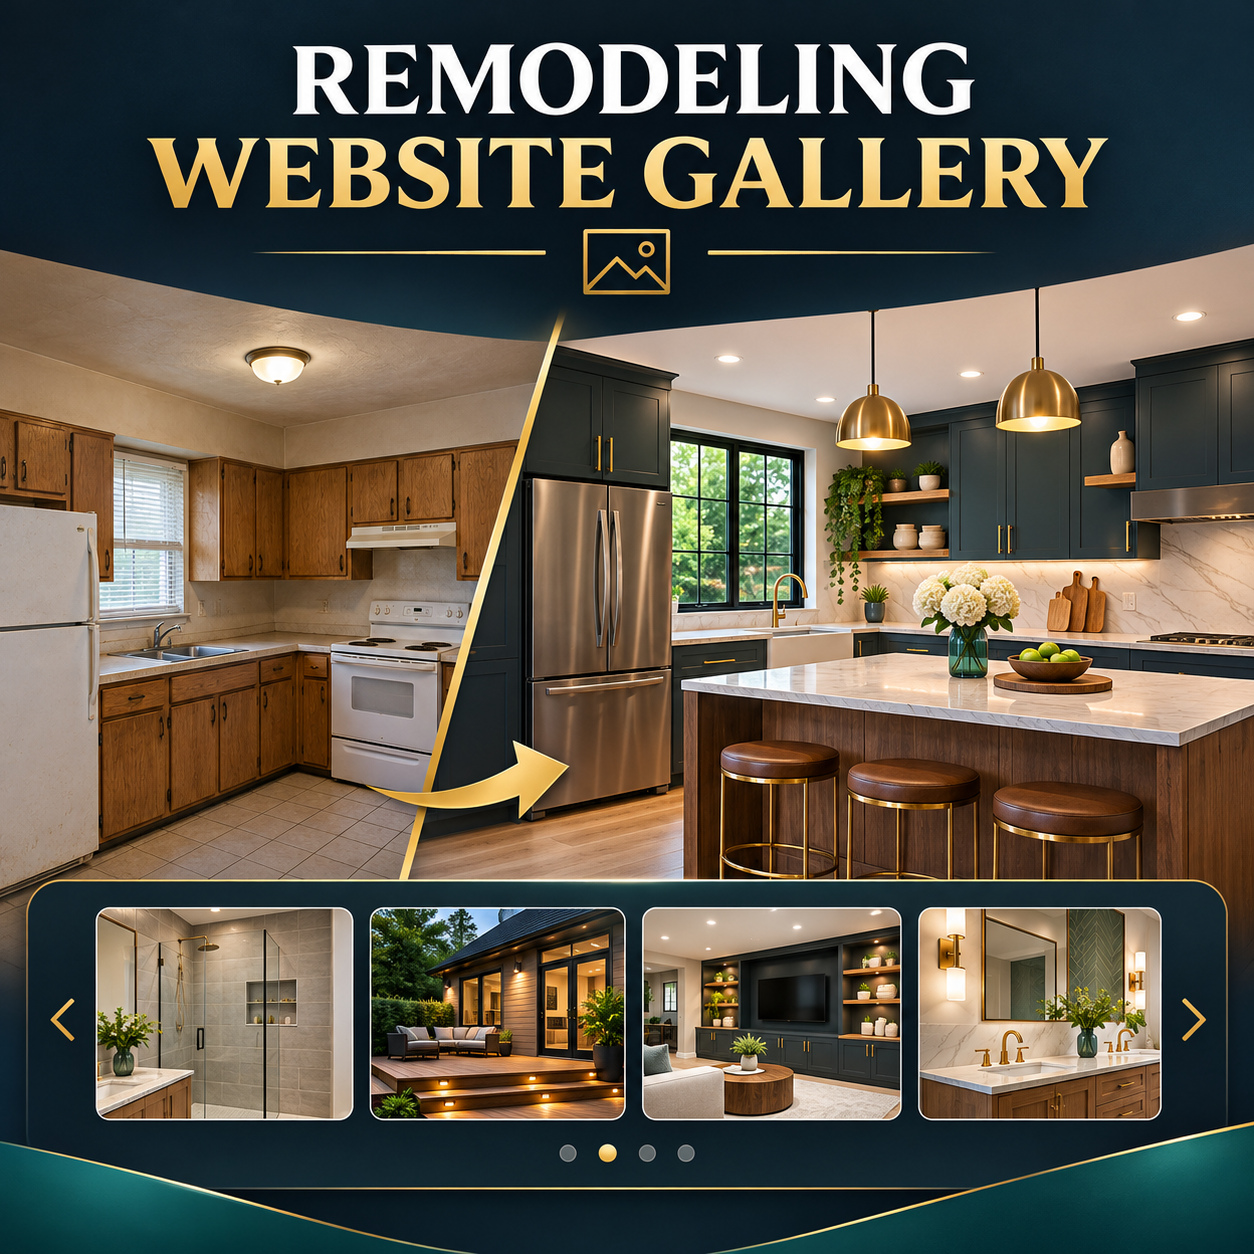
A remodeling gallery can be one of the most persuasive parts of a contractor’s website. Homeowners want to see whether you handle projects like theirs, whether your finished work matches their expectations, and whether your company looks prepared for the details that come with working inside an occupied home. A wall of attractive photos may catch their attention, but it rarely answers those questions by itself.
A useful remodeling contractor website gallery does more. It connects each set of images to a real project type, scope, challenge, and outcome. It helps a homeowner recognize a good fit before requesting an estimate, and it gives your team better context when that inquiry arrives. The goal is not to publish every photo you have. It is to make your strongest, most relevant work easy to understand.
This guide explains how to organize project galleries and case studies, what details to include, how to handle before-and-after photos, and how to keep image-heavy pages fast on phones. It also covers the path from a project example to an estimate request. For help building the full system, see OHS Publishing’s web design services for remodeling and renovation contractors.
What homeowners are trying to learn from your project gallery
A homeowner does not study a contractor gallery only for design inspiration. The visitor is quietly evaluating risk. They may be wondering whether you work on homes of a similar age, whether you can manage a complicated layout, whether the finish quality looks consistent, and whether the project is within the kind of scope your company accepts.
Your gallery should make it easier to answer practical questions:
- Does this contractor complete kitchens, bathrooms, basements, additions, or whole-home renovations like mine?
- Can I see the condition before work began, not only the polished final room?
- What changed besides paint, fixtures, and furniture?
- Were there structural, storage, lighting, accessibility, or layout problems to solve?
- Does the contractor serve my general area?
- What information should I prepare before requesting an estimate?
These questions reveal why a portfolio is not a substitute for service information. A project page can prove that you have completed a kitchen remodel, while the service page explains what your kitchen remodeling process includes. Link the two so a visitor can move from evidence to details without returning to the main menu. If those paths are hard to follow, use a website navigation audit to find missing or confusing links.
Use an overview gallery and detailed project pages together
Most remodeling websites benefit from two levels of project content. The first is a visual overview that helps visitors browse. The second is a set of detailed case-study pages for the projects that best represent your work.
The overview gallery
The overview should make selection easy. Group projects by meaningful categories such as kitchens, bathrooms, basements, home additions, exterior renovations, or whole-home remodeling. Use a strong finished image, a short descriptive title, and a clear link to the project page. A filter can be useful when you have enough projects to support it, but a simple set of categories is often easier to maintain and use on mobile.
Avoid vague titles such as “Project 12” or “Smith Residence.” A title such as “Small Kansas City Kitchen Reconfigured for Better Storage” tells the visitor what the project demonstrates. You can protect a client’s privacy while still describing the project type and broad location.
Detailed project pages
A detailed page gives the photos context. You do not need a long essay for every job, but the page should explain why the project mattered and what your team did. These pages can also support search visibility because they contain specific, useful information rather than an image grid with almost no text.
Start with three to six of your strongest projects. Choose examples that represent the work you want more of, not simply the jobs with the most photographs. Add new case studies as your photo and approval process becomes routine.
What every remodeling project page should include
A consistent outline makes project pages easier to write and easier for visitors to compare. Adjust the details to the job, but keep the following building blocks.
1. The homeowner’s goal
Briefly explain the problem in plain language. Perhaps the kitchen had poor storage and a narrow work aisle, the bathroom needed a safer shower, or an unfinished basement needed a flexible family area. Describe the goal without revealing personal information the client did not approve.
2. The project scope
List the meaningful work. That could include removing a wall, changing the layout, replacing cabinets, relocating plumbing, installing new lighting, improving insulation, adding built-ins, or updating finishes. Be accurate about work performed by your company and trade partners. Do not imply that you designed, engineered, permitted, or built something if another party handled it.
3. Constraints and decisions
Real projects have limitations. A compact footprint, an occupied home, an older structure, a fixed opening, or a product lead time can explain why a solution is valuable. This is often more convincing than a list of materials because it shows how your team approaches problems.
4. The finished result
Describe what changed in terms the homeowner can recognize: a clearer traffic path, more usable storage, better lighting, a step-free shower, or a room that now supports two activities. Avoid guarantees and claims you cannot document. Let the images and specific facts carry the story.
5. Location and project type
Include a city, county, or broad service area only when the client permits it and the information is useful. Never publish a street address without explicit approval. A natural link to your relevant service or location page can help visitors confirm that you serve them. For Kansas City-area businesses, OHS’s Kansas City web design services can help connect niche, service, and local content without creating thin duplicate pages.
6. A clear next step
End the project page with one useful action. Invite the homeowner to describe a similar project, review your process, or request an estimate. The call to action should say what happens next. If the inquiry goes into a form, make sure the confirmation and follow-up are clear; OHS’s guide to what happens after a website contact form submission explains the details that prevent leads from disappearing.
Build a repeatable before, during, and after photo process
The easiest time to improve your website gallery is before the next project starts. Create a simple photo checklist for the project manager or team member responsible for documentation.
- Before: capture wide views from several corners, important problem areas, and details that will change.
- During: document hidden work, layout changes, major milestones, and craftsmanship that the final surface will cover.
- After: return to the original angles when possible, then add close views of useful details and finishes.
Consistent angles make before-and-after comparisons credible. Avoid using an unusually dark or cluttered before photo beside a professionally lit after photo if the presentation exaggerates the difference. Labels should clearly identify each stage. If furniture or styling was added for the final photographs, that is fine, but do not suggest those items were part of the remodeling contract unless they were.
Get written permission that explains where images may appear, including the website, portfolio, and social channels if those are separate uses. Respect requests to hide faces, family photos, addresses, exterior numbers, security equipment, and other identifying details. Stock photos can support a general service page when properly licensed, but they should never be presented as completed projects.
Write captions that add information
A useful caption tells the reader what to notice. “New kitchen” adds little. “The new pantry wall adds full-height storage without narrowing the main work aisle” connects the image to the project goal. Captions can mention a layout decision, material, accessibility feature, or construction detail when the information is accurate.
Use alternative text for the purpose of the image, especially when the image communicates information. Keep it concise and describe what is visible in context. Do not repeat the same keyword-heavy phrase across every photo. Google’s image SEO guidance recommends descriptive filenames, useful alternative text, and relevant text near an image while warning against keyword stuffing.
Keep image-heavy galleries fast on mobile
High-resolution project photography is valuable, but uploading the full camera file directly to every gallery position creates unnecessary weight. A homeowner on a phone should not have to download a desktop-sized image for a small card.
Prepare images at appropriate dimensions, compress them carefully, and let the website deliver responsive image sizes. Use a modern image format when your WordPress setup and browser support make it practical. Load the most important visible image promptly and defer images farther down the page when that does not disrupt the experience. The web.dev guide to serving responsive images explains how responsive sources reduce wasted data and help browsers choose a suitable file.
Test the real page on a phone over an ordinary connection. Check that the gallery does not jump around as images load, that controls are easy to tap, that captions remain readable, and that opening a larger image does not trap the visitor. Image performance is also part of accessibility: a beautiful grid is not useful when controls lack labels, keyboard access, or sufficient contrast. Review the small-business website accessibility checklist as part of launch testing.
Connect project evidence to services and local relevance
A project gallery should not become an isolated section. Link individual projects to the service they demonstrate, and link service pages back to one or two representative projects. Where appropriate, connect a project to a broad location page that helps visitors understand your service area.
Use normal, descriptive links. “See a basement remodeling example” is more informative than “click here.” Do not create a separate, nearly identical gallery for every city. A smaller number of substantial project pages with genuine local context is more helpful than dozens of thin pages that change only a place name.
An older OHS overview of web design for Kansas City remodeling contractors covers the broader role of credibility, local visibility, and lead generation. Your gallery is one part of that system: the proof that supports the claims made on your service pages.
Design the estimate path around useful qualification
A gallery visitor may be ready to inquire, but the form should not feel like a second renovation project. Ask for information your team will actually use:
- Name and reliable contact details
- Project type and broad property location
- A short description of the desired change
- Preferred timing or a flexible time frame
- An optional, clearly explained budget range if it helps your process
- Optional photo or document upload when the form handles files securely
Set expectations near the form. Tell people whether the first step is a call, a site visit, or an initial review, and when they can reasonably expect a response. If you publish price guidance, keep it current and explain what changes the range. OHS’s article on whether to put prices on your website can help you choose between exact prices, starting points, ranges, or no public pricing.
Do not ask for sensitive information you do not need. Test the form, notification routing, spam protection, confirmation message, and mobile upload experience. If traffic reaches the gallery but inquiries remain weak, the issue may be the next step rather than the photographs; use the diagnostic guide for website traffic that produces no leads.
A practical project-page outline
Use this structure as a starting point for your next case study:
- Descriptive project title: project type plus the main improvement.
- Short introduction: the homeowner’s goal and general project context.
- Before photos: clearly labeled, with captions explaining the problem.
- Scope summary: the major work and important decisions.
- Process or challenge: one or two meaningful constraints and how they were handled.
- After photos: matched angles where possible, with informative captions.
- Result summary: the functional improvements, stated without unsupported claims.
- Related service: a natural link to the relevant service page.
- Next step: a clear estimate or consultation action.
Before publishing, ask someone who did not work on the project to review the page. Can that person tell what changed, why it mattered, and what to do next? If not, add context before adding more photos.
Maintain the gallery as part of your sales process
Set a quarterly reminder to review project pages. Remove broken images, correct outdated service links, confirm that forms work, and update any pricing, timing, or process statements that have changed. Check whether the first projects shown still represent the jobs you want. A site can look current while quietly promoting work the company no longer prioritizes.
Coordinate gallery updates with your estimating and project teams. Ask which examples prospects mention, which questions repeat on initial calls, and which project types need better explanation. Those conversations help you decide what to photograph and write next. The result is a gallery shaped by real customer questions instead of a random archive.
Frequently asked questions
How many projects should a remodeling contractor website gallery include?
Start with three to six strong projects that represent the work you want more of. Add projects when you have clear photos, accurate details, and client permission. A smaller, well-explained gallery is more useful than dozens of unlabeled images.
Should before-and-after photos be labeled?
Yes. Label each stage clearly and use similar camera angles when possible. Captions should explain what changed without exaggerating the result or implying that furnishings and styling were included when they were not.
Should project pages include remodeling prices?
Include prices only when the figures are accurate, current, and properly explained. A range or starting point may be more useful than an exact total because scope, site conditions, materials, and timing vary. If you omit prices, explain the factors that affect an estimate.
Does every project need its own page?
No. Give separate pages to projects with enough useful detail to answer customer questions and support a service you want to promote. Smaller examples can remain in a categorized overview gallery with concise captions.
Turn your best projects into a clearer path to an estimate
A remodeling gallery works when it helps a homeowner recognize a relevant problem, understand how you approach it, and take a confident next step. Organize examples by project type, add honest context, protect client privacy, optimize images for mobile visitors, and connect every strong example to the right service and inquiry path.
OHS Publishing helps Kansas City-area remodeling and renovation contractors build websites that present project work clearly and support qualified inquiries. Review the remodeling contractor web design service or request a website quote to discuss your services, project gallery, and lead path.